Below I give an example of adding a simple component to my homepage.
My theme is really great and I'm about ready to start selling my fruit subscription box to speakers of Faux Latin, but I want to let them know how prestigious it is, so I want to add a "Seen In" section.
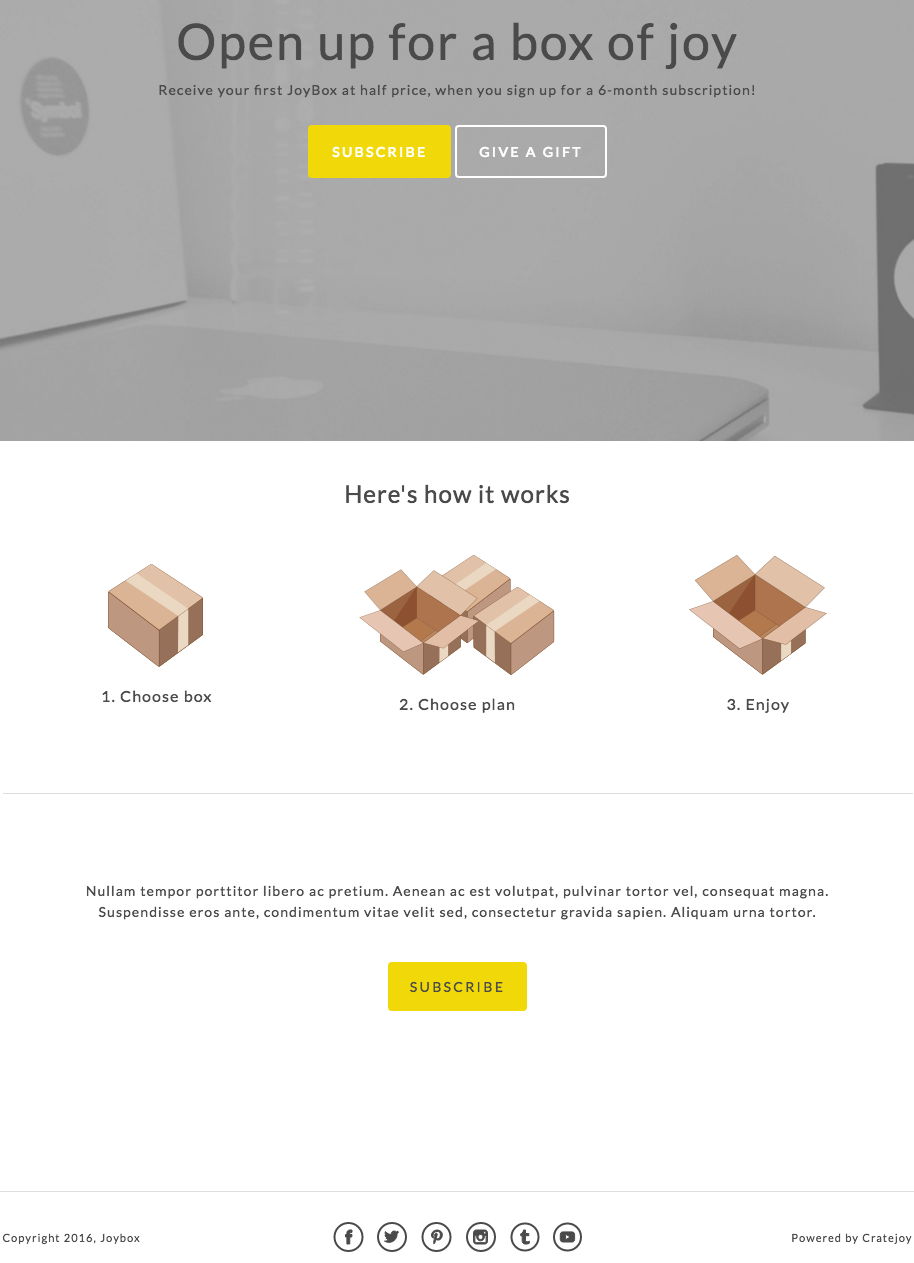
Before my changes
Add a Template Component
I could probably add a component by creating the directory and all the files for it in the Code Editor, and adding it to components_list.json and hoping I got it all right, but the Designer is really good at adding components, so I'm going to cheat and use that:
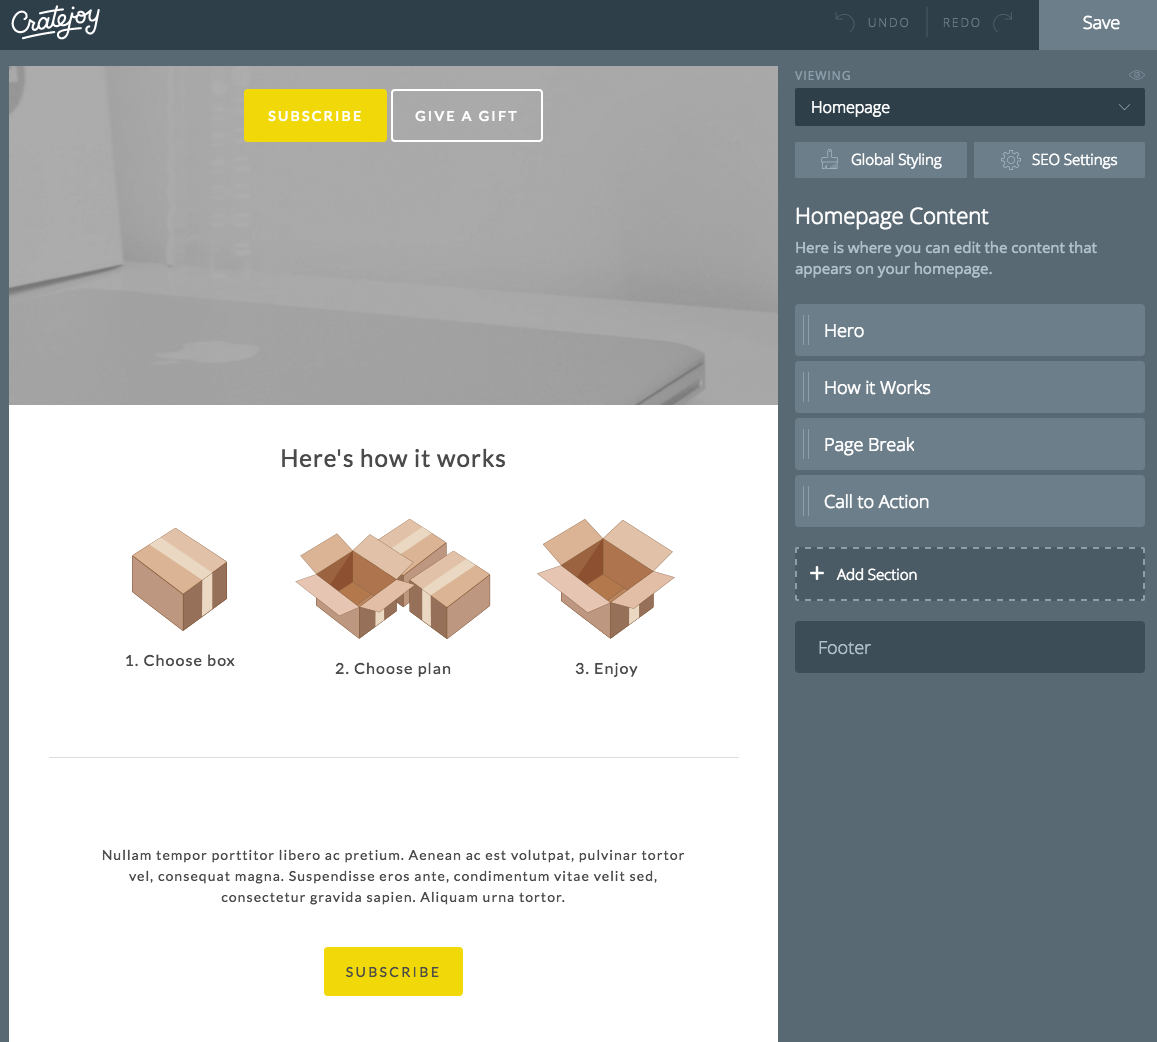
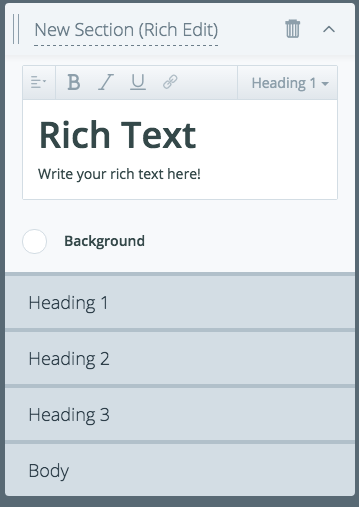
By default, my section is named "New Section (Rich Edit)", and it will show up under that folder name in the Code Editor if I don't rename it. This is fine, but can get confusing if you're adding multiple sections, or if you're going to be making changes three months later when you've forgot that "New Section (Rich Text)" is code for "Seen In section I never renamed."
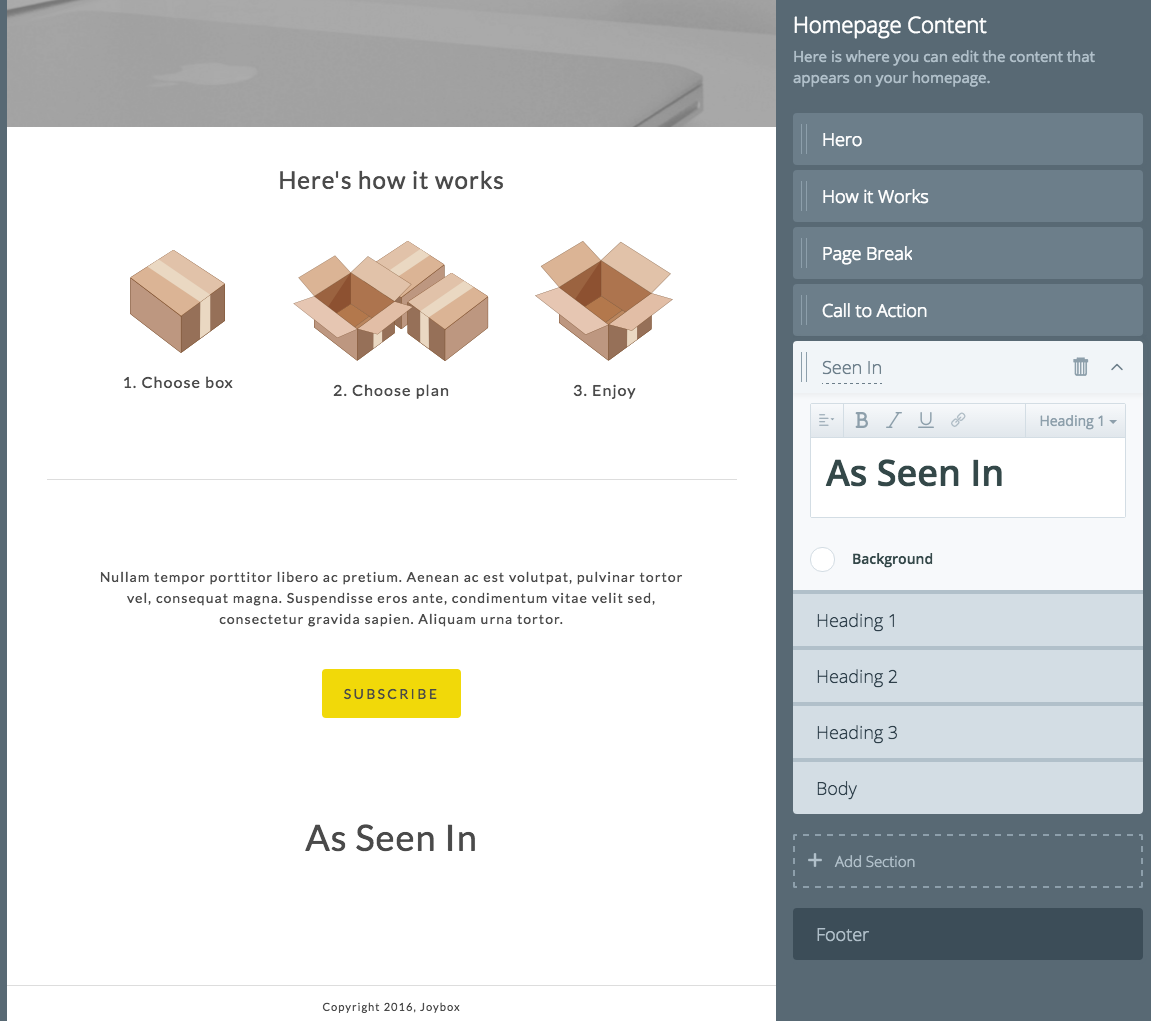
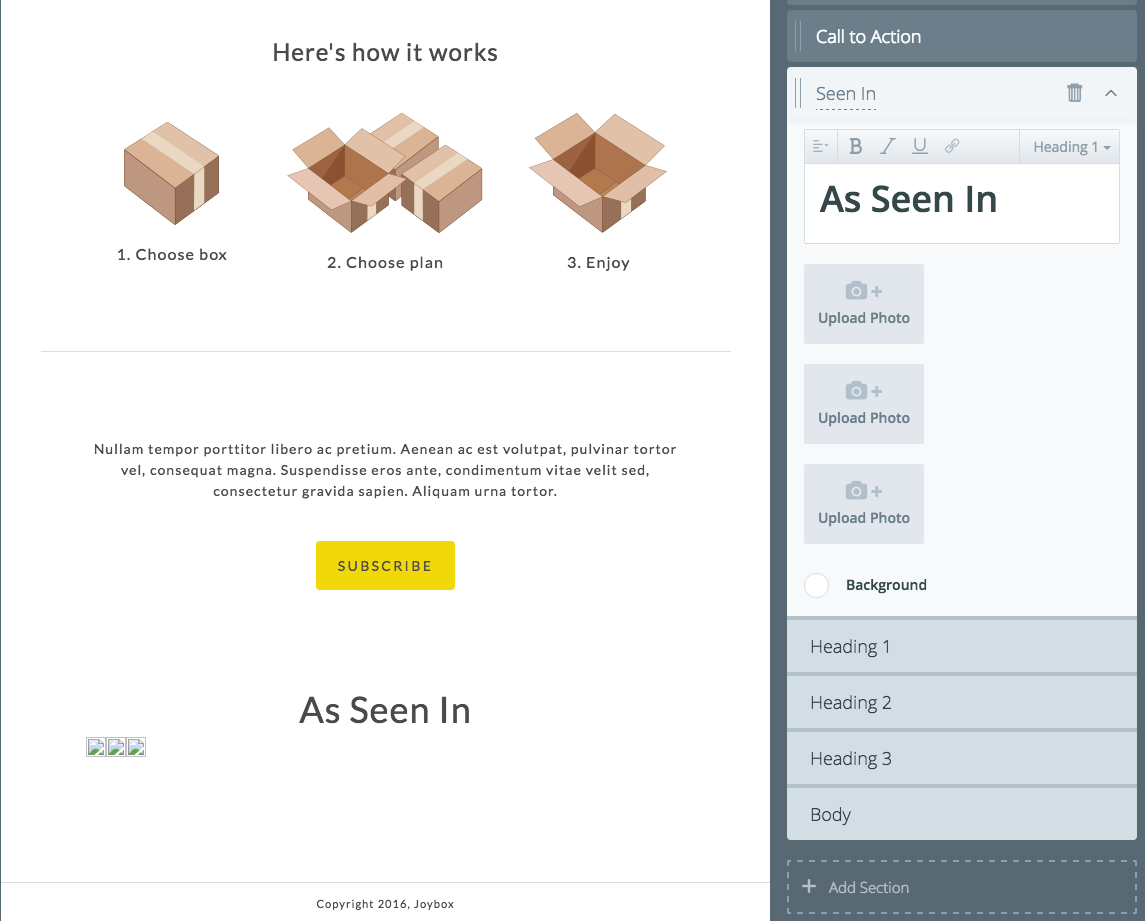
Let's change the name to "Seen In" and the current content to a simple section header saying "As Seen In".
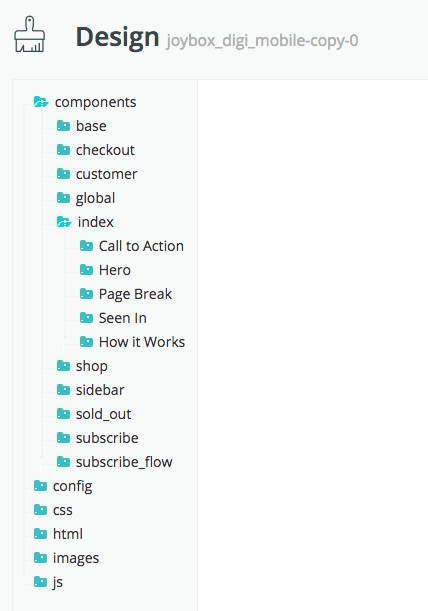
Now when I reload to the Code Editor, I can see this section under components/index:
Add Image Settings to the Component
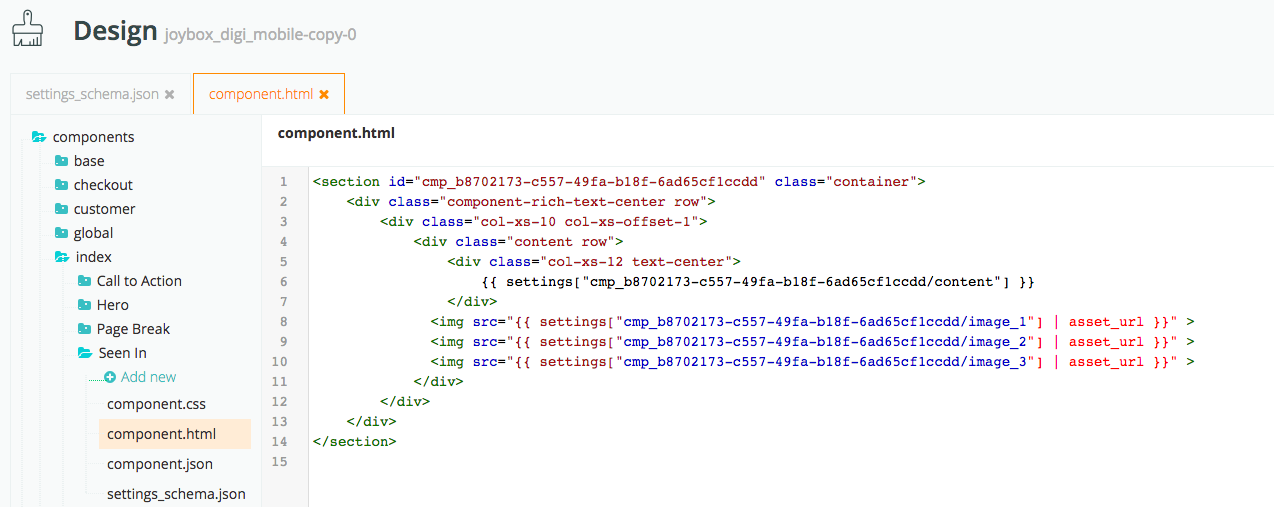
All right, if you have secret developer feature turned on (ask [email protected] for the Dev Access Theme Files feature flag), you'll see two JSON files in that "Seen In" folder, in addition to a CSS file and an HTML file. We're going to edit components/index/Seen In/settings_schema.json and components/index/Seen In/component.html to add some images
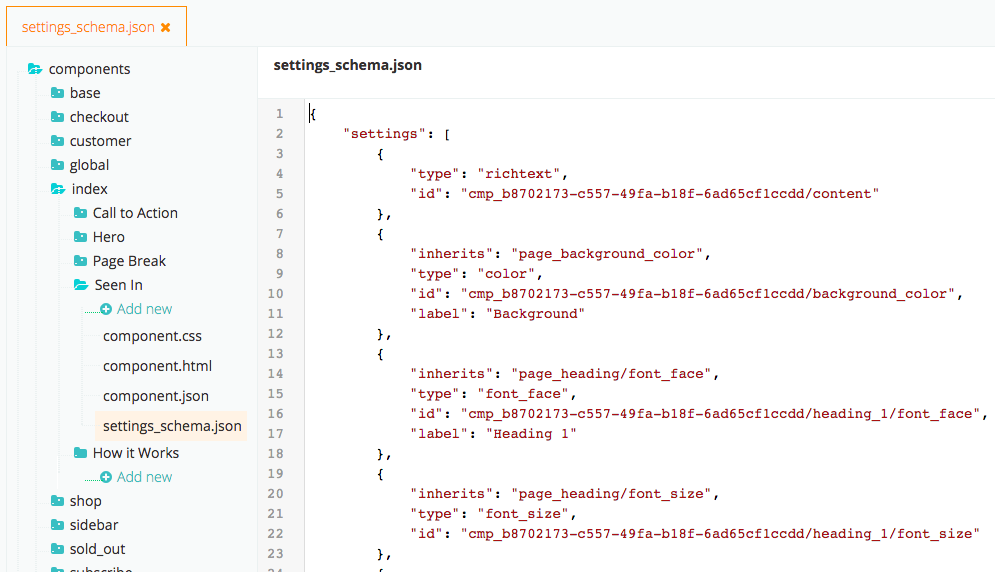
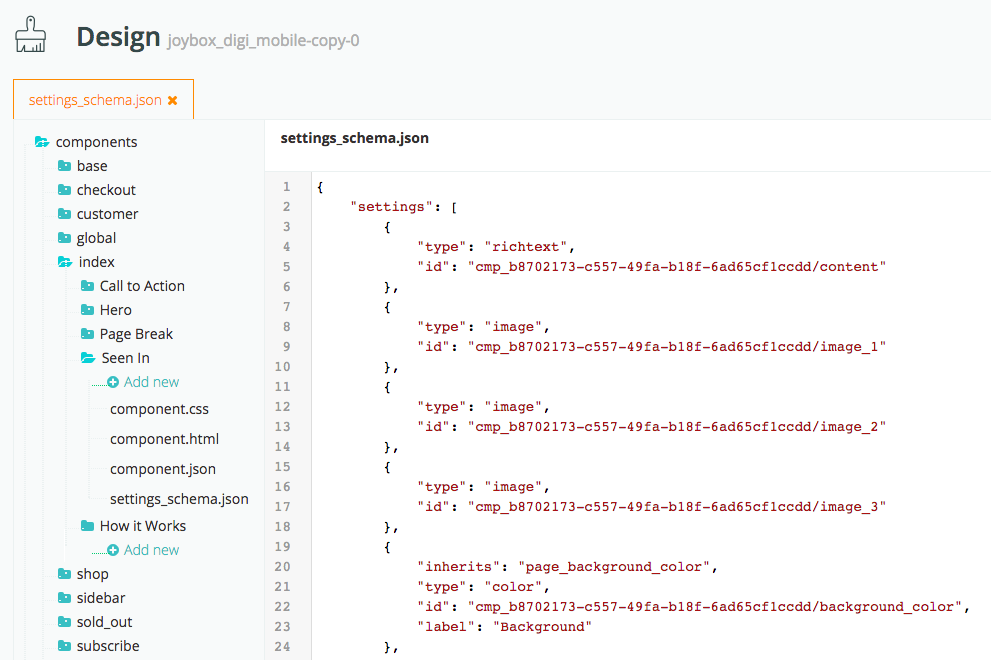
By adding these three settings, they'll now appear under that component in the Designer and can be referenced by component.html (How'd I know I wanted type "image"? I looked at the settings in How it Works. You can also see a list of types in the "Settings in Depth" helpdoc: http://docs.cratejoy.com/docs/settings-details)
Use the Designer to add your images
Now you can upload those images in the Designer.
Looking good! A web designer might want to add some CSS rules or something, but I'm a developer, not a designer.
